Ehime University Wireless Network Connection Procedure(macOS)
macOS Wi-Fi(eunet/eustaff) Connection Procedure
The procedure for connecting to the Ehime University wireless network is shown below. The University adopts 802.1X certification. To use 802.1X authentication, you need to configure the settings once to verify the security of the authentication server to connect to. No settings are required for the next connection.
All procedures are for connecting to “eustaff”. When connecting to “eunet”, please read “eustaff” as “eunet”.
Please note that ESSID: eunet is for students and eustaff is for staff. Cannot connect to non-target ESSID.
Things necessary
- Ehime University account (If you do not have an Ehime University account, you need to apply separately)
- Configuration profile for macOS
eunet (for students) eunet.mobileconfig
eustaff (for staff) eustaff.mobileconfig
MacOS connection procedure
The connection procedure of macOS (macOS Catalina 10.15.2) is described as an example. Please note that there are some differences in the setting method depending on the macOS version. In this procedure, a file called “configuration profile” is installed on the terminal.
(1) Download the configuration profile.
“eunet.mobileconfig” for eunet (for students)
“eustaff.mobileconfig” for eustaff (for staff)
Configuration profile for macOS
When using macOS, a configuration profile is required. Please download the following file. ESSID: eustart allows you to access the information media center page. When downloading on macOS,download the browser on Safari
- Ehime University wireless network configuration profile (for students)
- Ehime University wireless network configuration profile (for students) -ZIP file-
- Ehime University wireless network configuration profile (for faculty and staff)
- Ehime University wireless network configuration profile (for faculty and staff) -ZIP file-
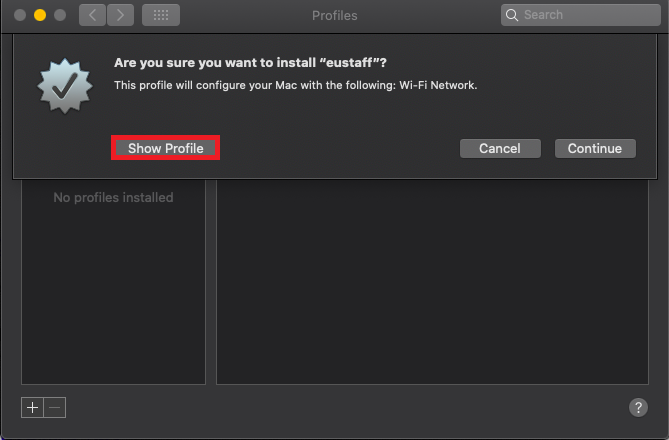
(2) When the download of the profile is completed, the “Profile” window (shown below) is displayed. Press the “Display profile” button.
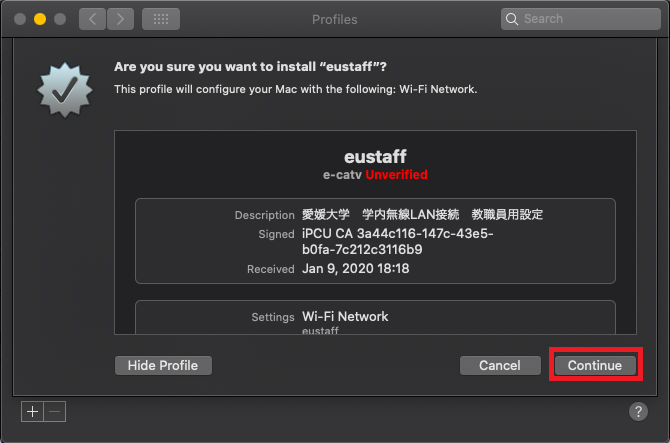
(3) Check the description and signature fields, and click the “Continue” button.
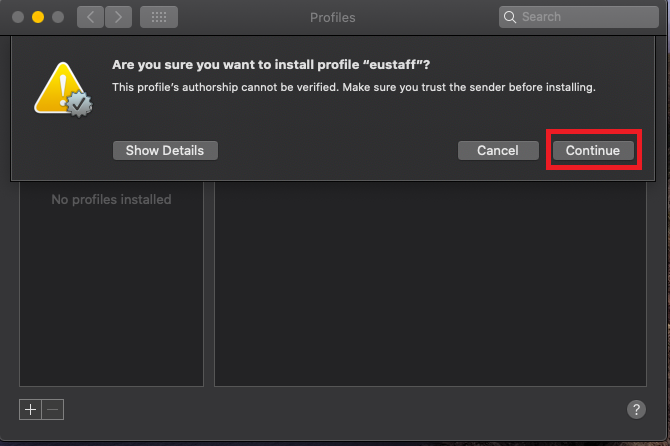
(4) Click the “Continue” button.
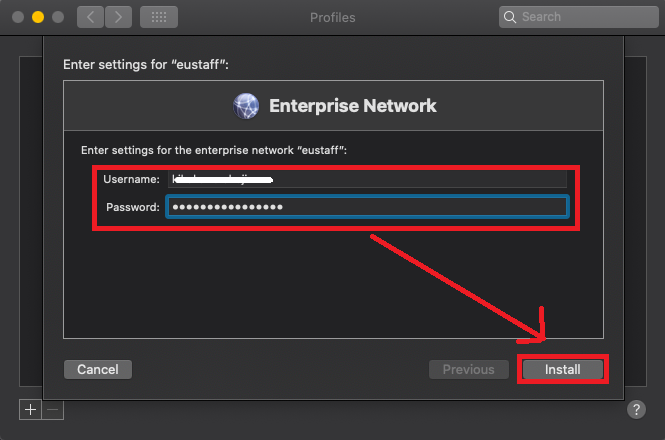
(5) Enter your assigned account in the “User name” and “Password” fields, and press the “Install” button.
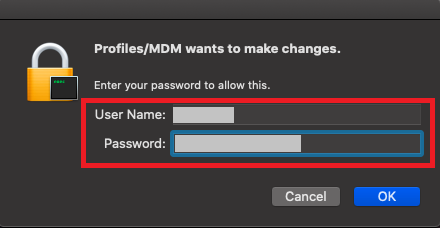
(6) Enter the password of the terminal you are using and click the “OK” button.
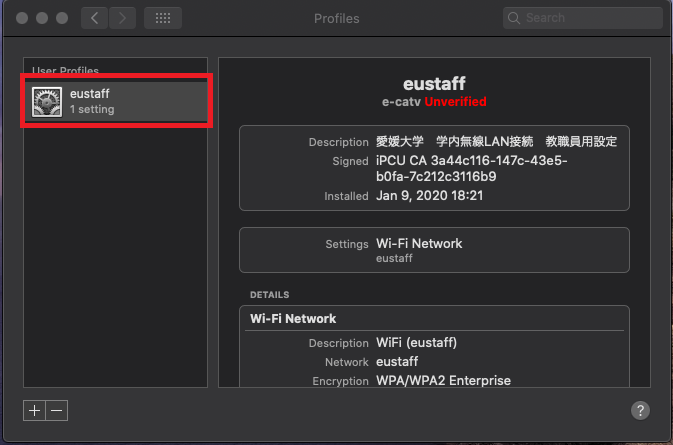
(7) A new profile is displayed as shown below.
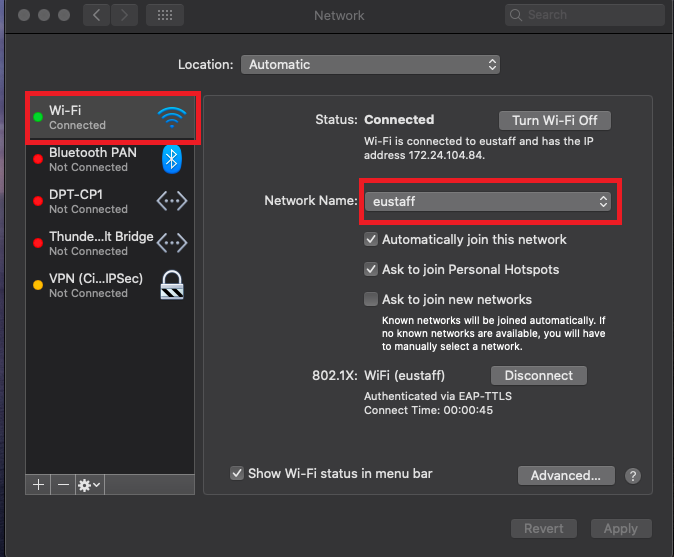
(8) Click the wireless icon on the desktop, and click “Open“ Network ”preferences”.
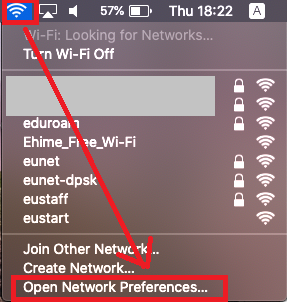
(9) Select “eustaff”.

(10) Enter the password of the terminal you are using and press the “permit” button.

(11) The connection is completed when it becomes as shown in the figure below.